Barnominium

Barnominium
Showing posts with label Burlap. Show all posts

Tuesday, January 21, 2014

A Chair Update!

After my Nanny passed, I was given the old desk and chair out of her home.  I promptly painted the desk red with a crackle finish and black showing through.  I painted the chair the opposite, black with red showing through.  The seat needed to be updated with a new fabric.  I have shopped and shopped.  Nothing, quite struck me as being the one......I was in Hobby Lobby looking and found a scrap piece of burlap with black circles for $3.00 and I thought why not.....

The desk! You can read about this project, under Pages, Painted Furniture.
 And here is the Chair!  I think I like it.


I had other plans for this piece, but I put it in the Dining Room, because the other space was not ready.  It has stayed and I love it there.  

Have you covered any seat cushions?  This one was Simple Suzy.  If your intimated, I have pictures of the process.

My seat cushion was attached with screws, so out came the screws and off came the seat.

Before
I used a cotton batting to add a little cush...
I attached with a staple gun


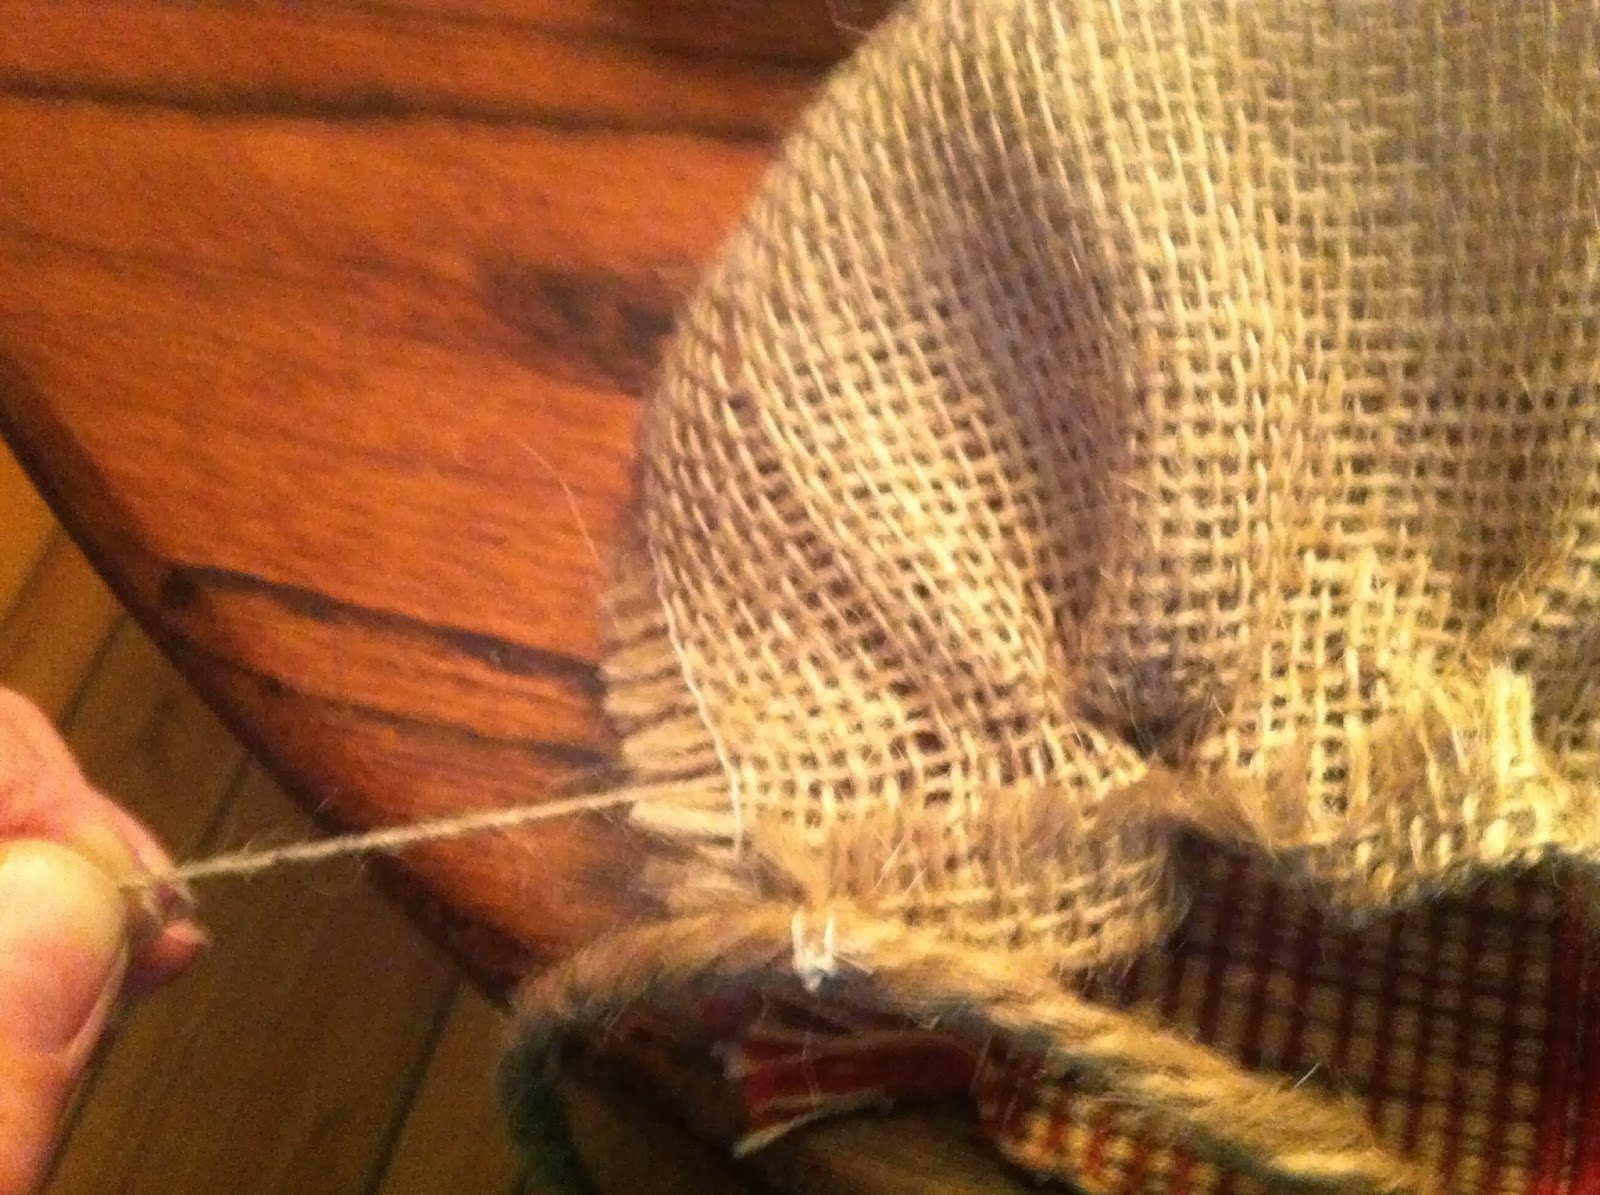
Now, for the burlap.  You can not cut burlap straight.  But, if you pull one string like shown, you can.  Pull the string all the way out and it will leave a gap to cut.


Again, I used the staple gun to attach the burlap and then I wrote on the bottom where the chair came from and that I recovered the seat.


Cute!
 Reattach with screws.  I had to go buy some, because I took so long to finish this project, I misplaced the ones that came out of the chair.  I will probably find them now!


Sunday, January 12, 2014

Burlap Coat Rack


The coat closet, houses a hot water heater......I don't know who decided that the closet by the entry would be a great spot, but they did.  But, none the less, I needed something for guest to hang coats on.  Since burlap seems to be the in thing, this is what I came up with.


For those that may want to do something like this.
1. My big board is 48" long, 8" wide. The cedar board is 4" wide, 44" long.  That gave me 2" all the way around.

2. I covered the large board with some cotton batting, I used a staple gun to attach it to the back.  Then the same with the burlap.

3. You may need help with this step, I did.  I got the cedar board placed were I wanted it, then flipped it over (carefully) to attach it with screws from the back.

4.  Then, I measured out where to place the hooks and marked them.  Then, we pre-drilled the holes. We put the 3 middle ones on.  I know what your thinking..... Why didn't you put all them on.  WELL, you have to get it attached to the wall, firmly enough to hold 5 coats. 

5. Check the area where your coat rack is going to hang.  We had a stud we could hit on one end but not the other.  Hold the coat rack up, get it where you want it and have hubby drill one hole on each end thru to the wall *****The reason the outside hooks are not on.  You hide the wall screw under them.**** We then put in a wall anchor on the end that we didn't have a stud.  Now attach it to the wall.

6. Final step, put the last two hooks on.

Monday, November 4, 2013

Burlap Curtains- SO EASY!

We bought a second home over in AR two years ago.  If you have been following along than you know this.....Decorating is on a beer/NO budget. We are by no means, Rich, so I have tried to furnish, decorate, fix up with as little money as possible.  Now, Our youngest is in college and College, room and board is over the top.  Now, the budget is almost a big 0.....LOL!  Now, that we are officially in year two, the projects and decorating continue.  Just gotta do what you can do.

The Dining Room, I would say, is getting close.....There is one of the biggest Plate Glass windows, that I have ever seen in this room.  And, It has a great view....NOT of the sunroom and a door.  You know curtains are Expensive.  Burlap is all the rage....and I have seen them all over the web....and you know Burlap is cheap.  I've seen pictures and pictures, but not really any directions, so you've lucked up.  I am going to show you how, I did mine.

I want to apologize for the low quality pictures.  I got several with my camera, before it said, "Batteries are Exhausted," Really....thank goodness for phones.
This is the window with the lovely view.  Also, pictured is my Craigs List find, table with 6 chairs, for $175.  Yes, I painted the chairs.  They were a mess.  For more details check under Painted Furniture.

I have seen pictures with curtains on branches, and on different types of rods. I decided to go branch hunting.  I found the Perfect Branch, the perfect length....Until I broke off the small end...Sanding on it.  So, the next best thing.  I cut it and left a gap between the two sides.


This is how we attached the branch to the wall, screw and wire.

Now, for the curtains....Easy Peesy...If, I can do it, anyone can!

Ok, this picture, is showing something else, BUT do you see the string, that I am pulling?  Burlap DOES NOT cut straight.  So, when you measure out the length that you need, pull one of the strings, completely out and then make your cut in the gap left.  A lady at Walmart showed me this....

Measure the length of curtain needed for your window.  I think that they look better hung higher as shown in my photo.  It also makes your window look larger.  Add a half an inch for your seam at the top.   I used the 3/8 in Heat Bond Hem.   https://amzn.to/3TFhQbZ  I turned over the edge at the top only and ironed.  I couldn't decide what I was going to use to attach.....I fly by the seat my pants a lot and according to others I fly on a broom...Ha!

 I used a Jute Twine, and it can be found here. https://amzn.to/42wKIXU   Or it can be found in the Hardware store, on the aisle with ropes, chains, etc. Or in a Hobby Store.  It comes in different sizes. This is not the smallest and not the largest.

If you wanted a cleaner or less rustic look, use curtain rings with hooks, like these https://amzn.to/3TydJi1
 You can see the top edge better here folded over with the heat bond.  I cut my twine 20", so I would have enough to tie.  Find the center point of the twine 10" and sew to the corner of fabric and then I placed one every 7 1/4".


Now, back to this picture.  I wanted my curtains puckered at the top.  Some of the pictures that I have seen of burlap curtains just don't look like they hang well.  So, I picked a string near the top of curtain and pulled, (be careful or you can pull it all the way out) Pull string and work your fabric into a pucker.  You can locate the string on the other end and pucker your fabric from that end as well.  I then tied several knots in the string and cut off the excess.

 Tie them on your stick.  Some of twine will be longer than others, unless you find a stick that is straight as arrow...I haven't decided about what I want to do with extra, leave it, cut it off, fray the ends....What do you think?  Let me know.

 After, I had them tied up, the curtains wanted to flair out.  I worked on my pleats and tied them back for awhile.  Burlap is stiff!

Here they are.....Finished!
I have found that one project always leads to another.  I have so many in my head, I just can't get to them all.  But I want to do a Stained-glass window to hang in the middle...to hide that wonderful view of the sunroom door.

As an Amazon affiliate, I may receive a commission an any links!

If you run across this post, come on over to Simplebutfabulous.com.  I am back to writing and will be forwarding some of the popular post from here and new content.

Monday, October 14, 2013

An Old Key Picture

I LOVE Pinterest and Home Talk!   I am pretty creative, but it never ceases to amaze me the things people come up with.  Simple things, like displaying Old Keys in a picture frame.  I do believe I pinned that one to my Pinterest boards.  All the while, thinking where would you ever find some old keys.....

One, of my favorite spots to visit when in Hot Springs, AR is the Central Station Marketplace.  On one such trip, I ran across a box of small keys.  I wanted a ring of them, but he wanted $5 a piece, so I only bought one.  Then, a couple of rows over...Jackpot, a whole ring of Large keys for $10.  Now, I had the keys, I needed a frame.

So...the keys sat....


Then, Southern Junkers (https://www.facebook.com/groups/southernjunkers/) had a Fall Market with a ton of vendors.  I found the FRAME and just my color....RED with a bit of Turquoise, but no back. Not a problem!


Off to the Hardware store to purchase a thin piece of wood (pictured) for a back and Burlap to cover it with.

Tools needed:  Circular Saw, Square, Pencil...  I am not real comfortable with Saws, but I was determined to do this by myself.  

  I measured out the size needed to fit into the back of frame and cut.....

Then, I used the Spray Adhesive to attach the burlap and the Quick Grip to glue the keys to Burlap/Backing.  On Pinterest, I did not see instructions on How they attached  the keys.....So, I am hoping this Holds!


Finished
Hung on the wall and the keys are still in place!
I LOVE IT!  
Have you done any key projects?  And, I still have that One small key to do something with....