It ALWAYS amazes me, how basically Just Paint can change a room. I know that is funny. I know it makes a big difference, but then I paint....and well it is a Wow moment or it could be, What was I thinking????
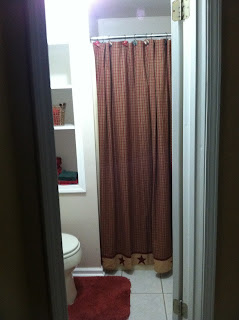
We have a small bathroom upstairs on the girls side of the house, (their gone, but it is still their side). There was nothing wrong with it, but after awhile you just need change. And, we needed something more grown up.
Here is the before.....Actually I painted this and I really liked it. But, after just the initial coat of peach, it was one those, What was I thinking. So, I drizzled orange craft paint into the can of peach and did a dry brush technique. I just kept working with it, till I liked it.
When we purchased this place, It was a wreck! Where the built ins are, was just a hole and you could see A/C duct work going up to the attic.
]
I didn't really have a plan for this room. I really feel that ivory fixtures limit the possibilities. For example, I don't think gray walls with ivory/tan would look good. I knew I wanted something neutral. Just happens I had extra paint in an off white....It was whiter than I wanted, So I added some brown craft paint to the can. Not a problem, if you remember that you did that....Recently I painted another small room and I thought...that I had enough paint in a can (I forgot I had used it upstairs) . Guess what? It wasn't enough paint. I purchased some more and then I was trying to figure out why it didn't match. Then, I remembered!!
So now that it was beige, I needed new accessories. I went shopping in my house! Yes, sometimes things can be moved around to different rooms and it looks like you have new things.
The shower curtain came out the main bath downstairs (I really had to shop for new one to go there)
The picture came from down stairs, the cowboy lantern came out my daughters room
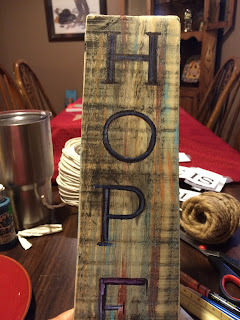
And this little cute sign, came out of my daughters closet. Yep, she is gone, but for some reason she still has things here. Her closet is good place to go look....She came home one weekend and I had hung one of her pictures in the hall. She said, "Hey, that is my Picture." I said, "Yes, it is, No difference in it being in a closet or on the wall."
 |
My daughter, Megan, made the wooden sign. |


