I wrote this last year 3/2014......This was my plan. At the bottom is the reno! And I think it turned out Fabulous!
Last
week we spent some time at our home in Arkansas. If you have been
following along, then you know that most of this blog is about that
place. Between the house and the barn is another building. We don't
know what it was used for, but I am guessing a work shop. It has
fluorescent bulbs from one end to the other and all the electrical
outlets are table high. It is a wonderful building for a workshop and
maybe it will be left that way. But, right now, I am thinking guest
house/game room. Hmmm, I do love to work on some stuff and who knows, by
the time we get to move there...I could change my mind. I do know
this. It will have a handicap accessible bathroom in it. But, before
anything gets done to the inside, the outside has to be fixed up.
Here
is the lovely building.....It has a new roof, but in need of paint and
more. I do have a plan...but it will done in phases, Number
One...Money, Number Two....Time.
The Grand Plan is to Extend the roof line out to the end and....
I would like to add stone work, several feet up and Replace the single door with one like this.
I would also like to add a portico. Here are a couple of my inspiration links:
[houzz=http://www.houzz.com/photos/5677405/Old-Aurora--Ontario-craftsman-entry-toronto]
[houzz=http://www.houzz.com/photos/3979530/Exteriors-craftsman-garage-and-shed-los-angeles]
Someones
plan to divert water, Add lots of concrete....UGH! The concrete in
front of the door actually slopes toward the building, thus the bottom
of the door is rotten.
Get
rid of these doors and frame in a window to match the others. This
concrete was actually in a good shape and we reused it at the barn.
End view.
Replace
the iron post with a cedar one. Cover that pipe with lattice. That
pipe has wiring in it that goes to the barn. It comes back down inside
the building on the other end and then underground. I guess it was to
much trouble to bury all of it. I would have loved to been on that
brain storm.
Last
week, we (Bob and men help) started with getting rid of all that
concrete. And then, I spent the day on the tractor moving dirt. I
graded it so the water would hopefully run away from the building. If
the building site had been properly prepared to begin with......Well it
wasn't, then instead of moving dirt, they poured concrete and did a poor
job at that. We got a rain while we were there, and it looks like it
is working.
The
building has a concrete floor, except for the add on. It is on floor
joist. After, we pulled the concrete, we discovered the front joist is
termite eaten and rotting. So, we will have to see about that. That
means call someone with experience with that kind of thing.
Summer 2015.....My husband could not put it off any longer!
First on the list was to start painting....and redo the trim around the windows.
We made this lattice to cover that awkward electric pipe that ran up the front of the building.
Instead of putting stone across the front, we decided for a cheaper option. Tin! Cedar trim is not on yet
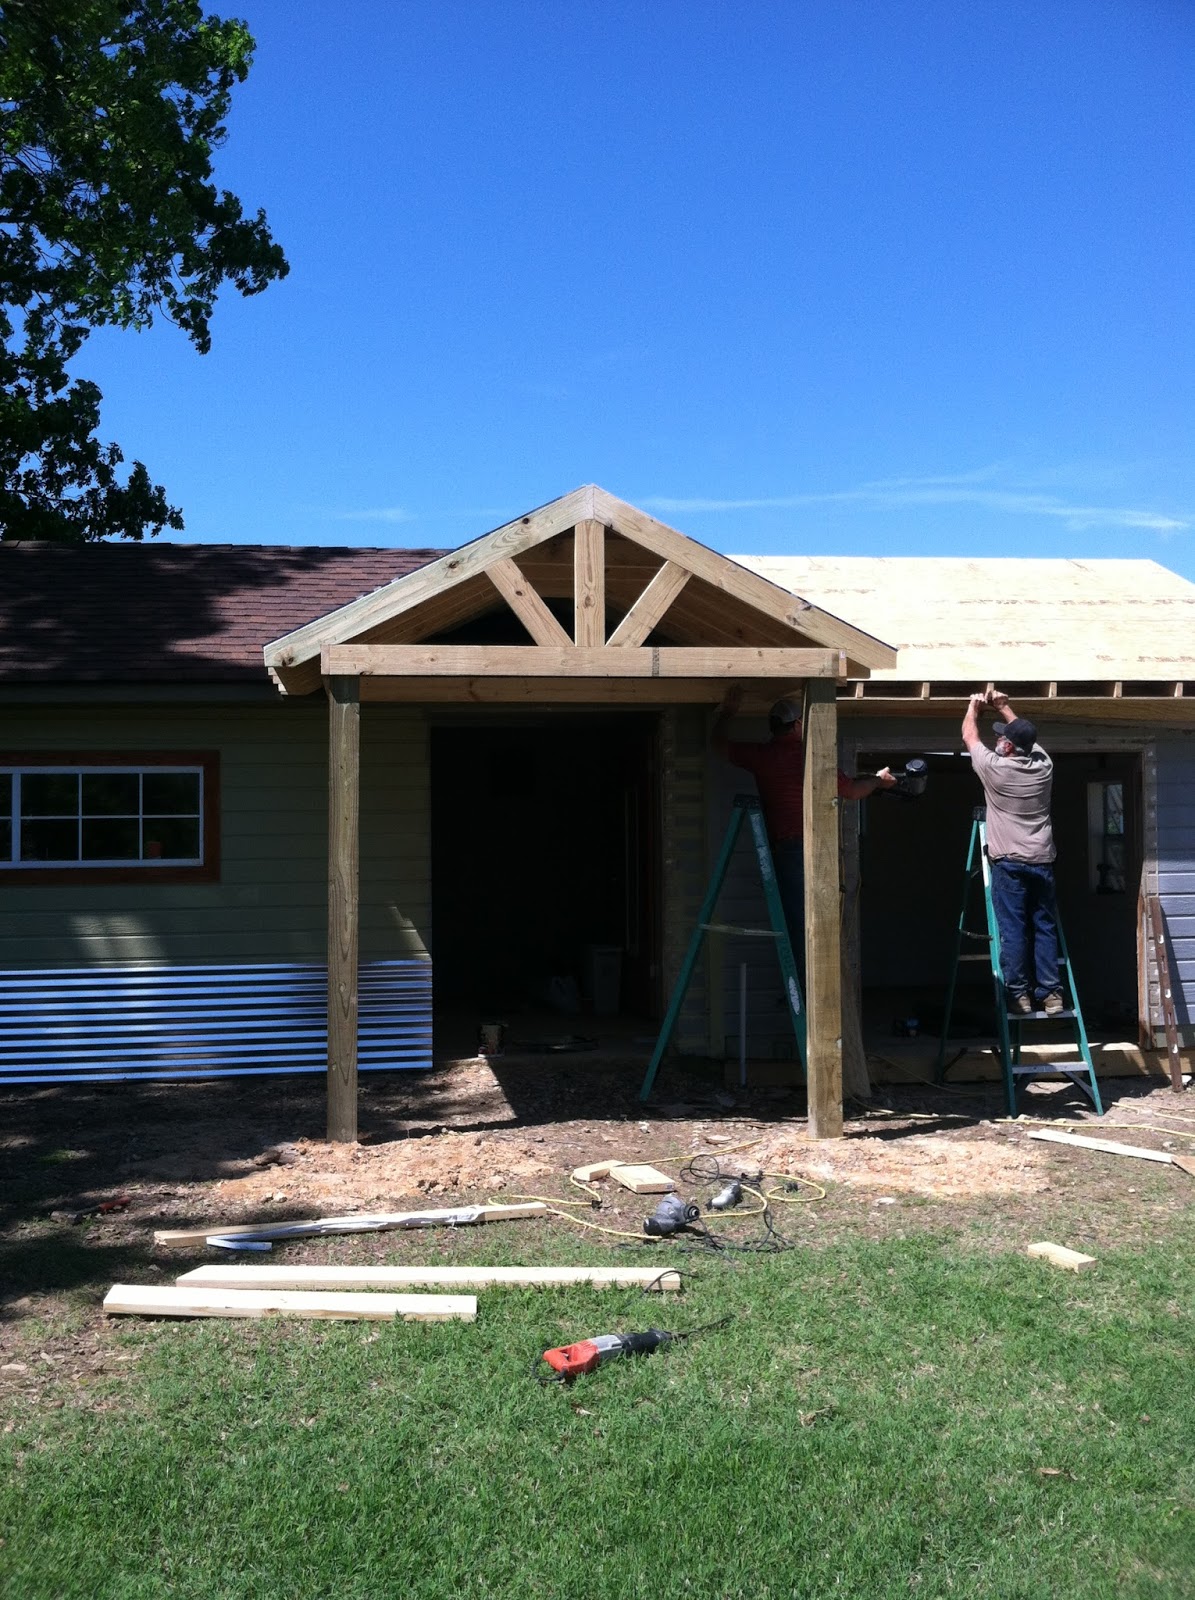
Time to call the professionals! Luckily we have friends that are great carpenters! Off with the shed roof to extend the gable roof.
They had to build up the wall to make it level...

And the porch
Of course a new door....
A new window...
I think it looks GREAT!
From this to That!
You have judge the cow thru the mud!
Now, the inside, well that is a blank slate! But, curb appeal is awesome......